Follow this updated step-by-step guide to seamlessly integrate PayPal payments through FreshLimePay Cloud.
See the detailed guide here.
Each product represents a payment configuration. A product can support the following payment types:
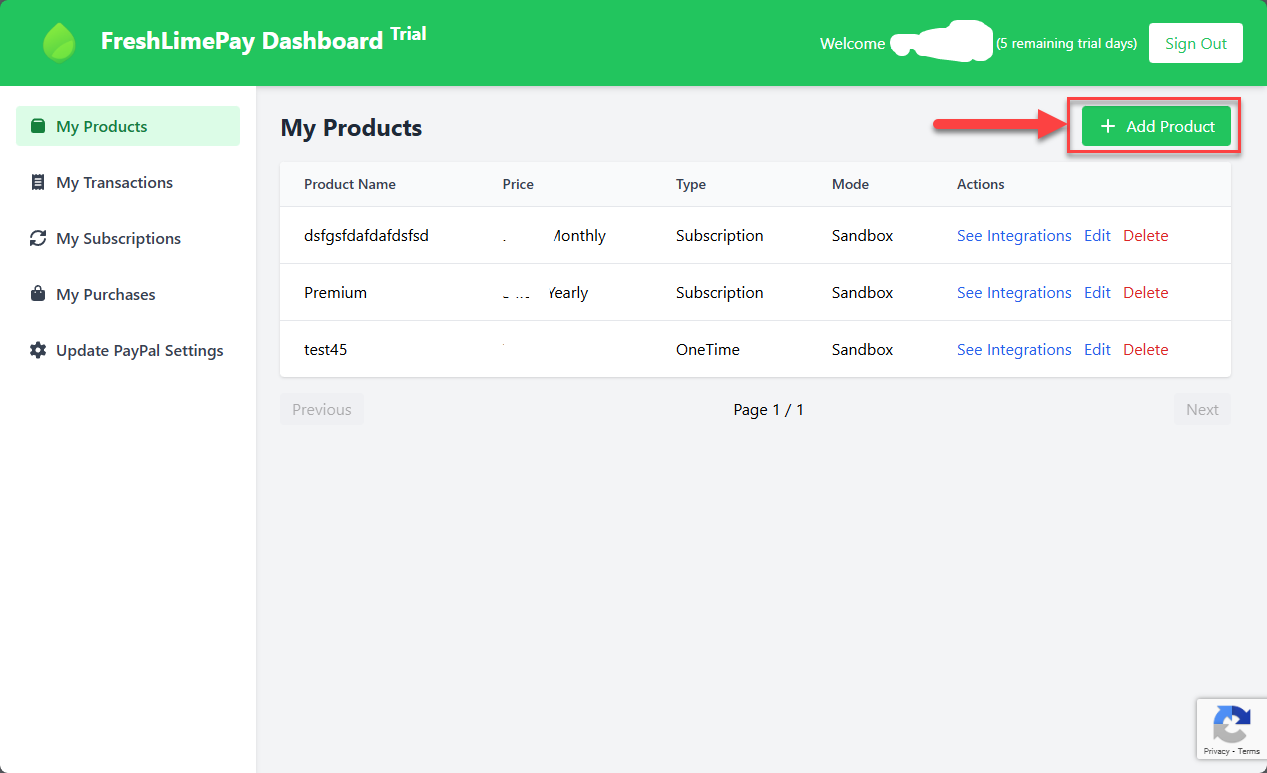
From the dashboard, click Add Product:
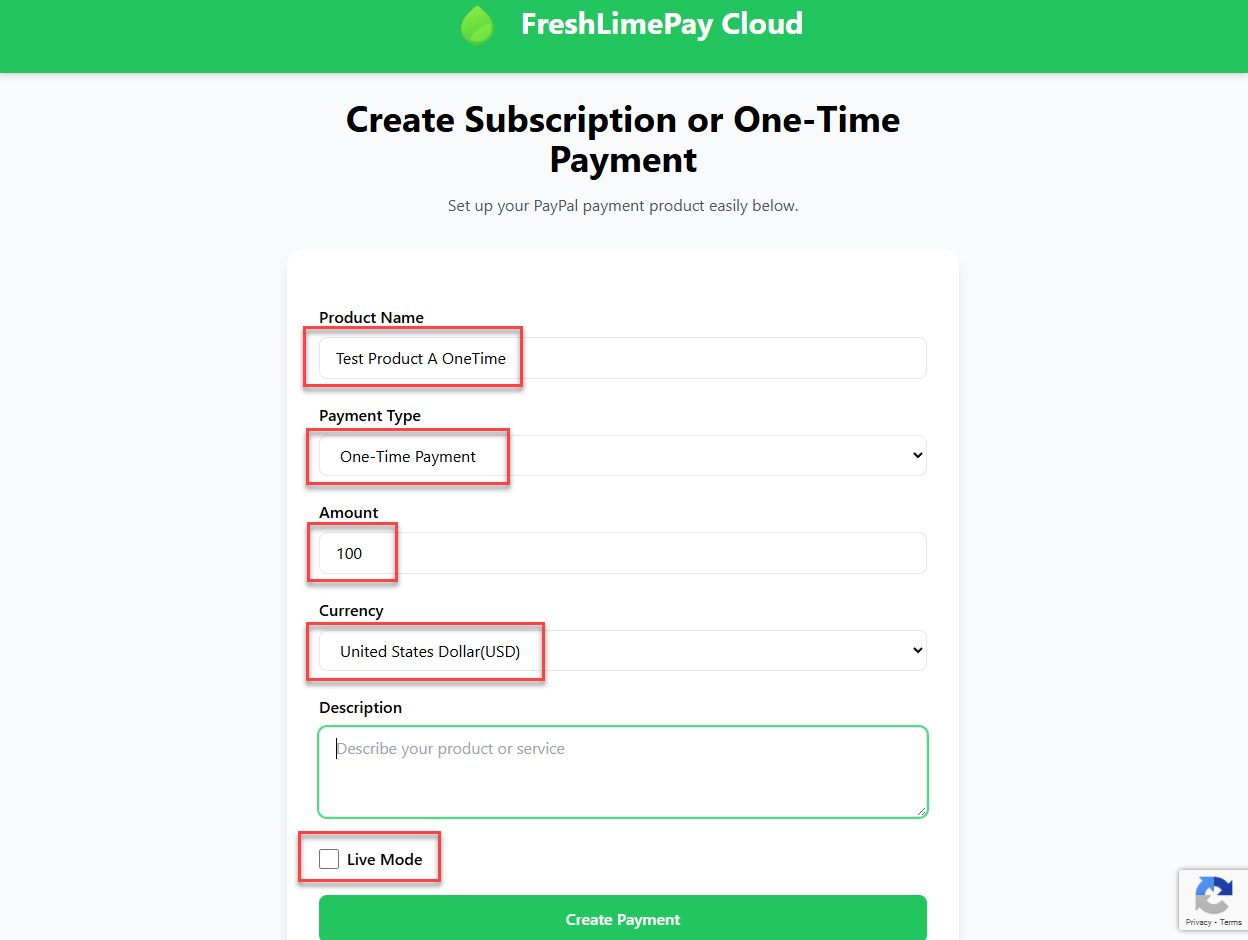
You will see the following screen:

Enter all required values as shown below:
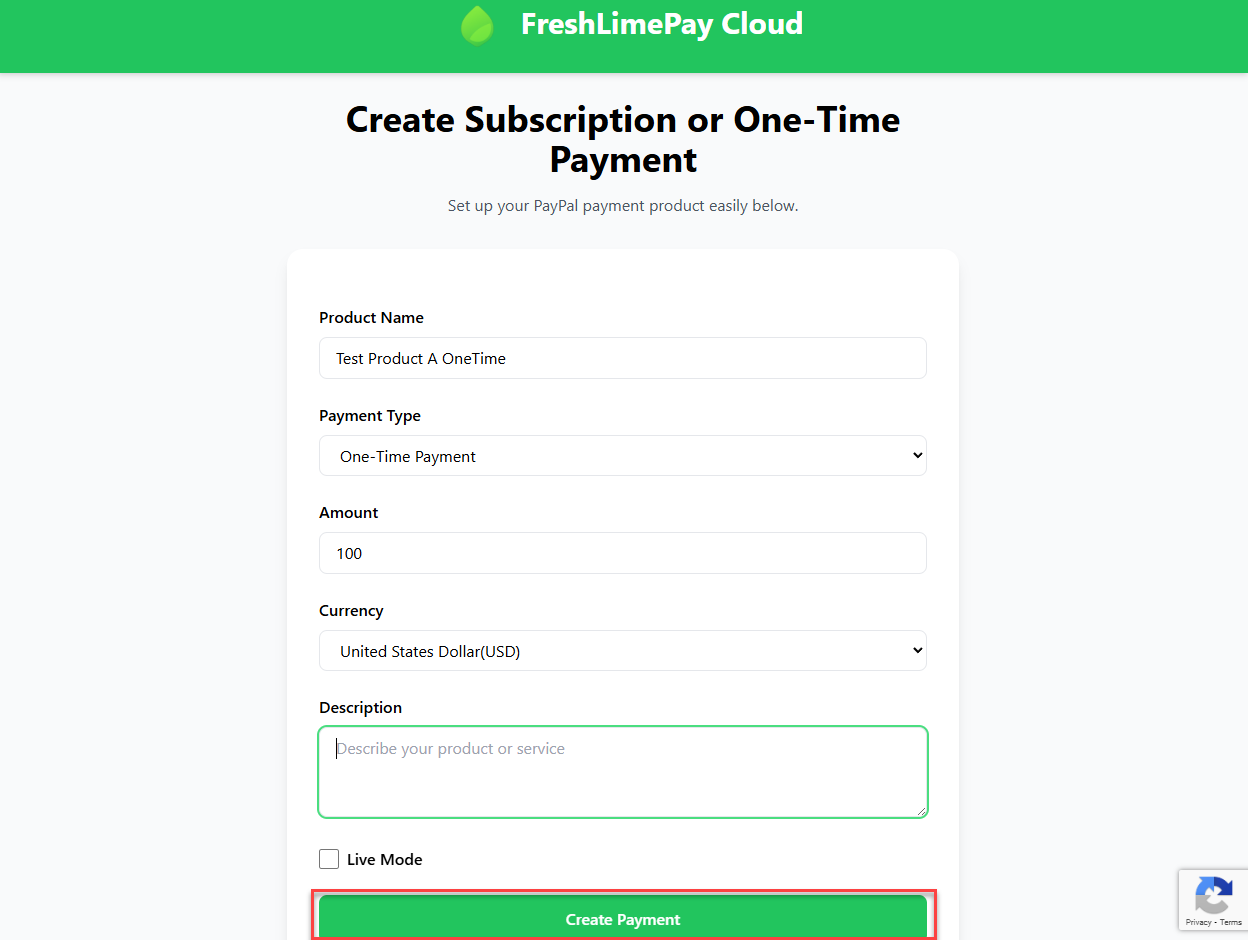
Click Create Payment:
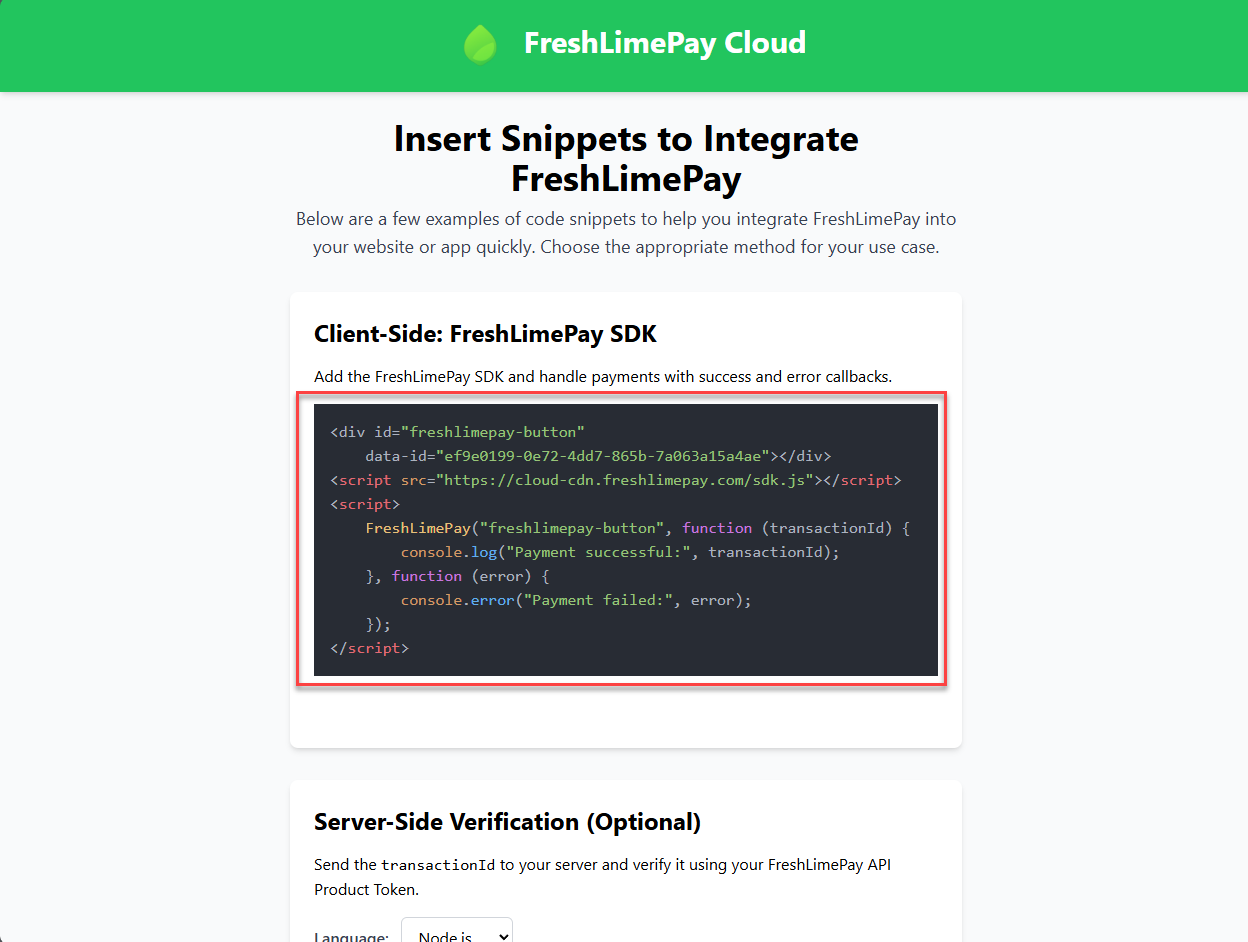
You’ll then see the Settings overview for adding the integration into your website:
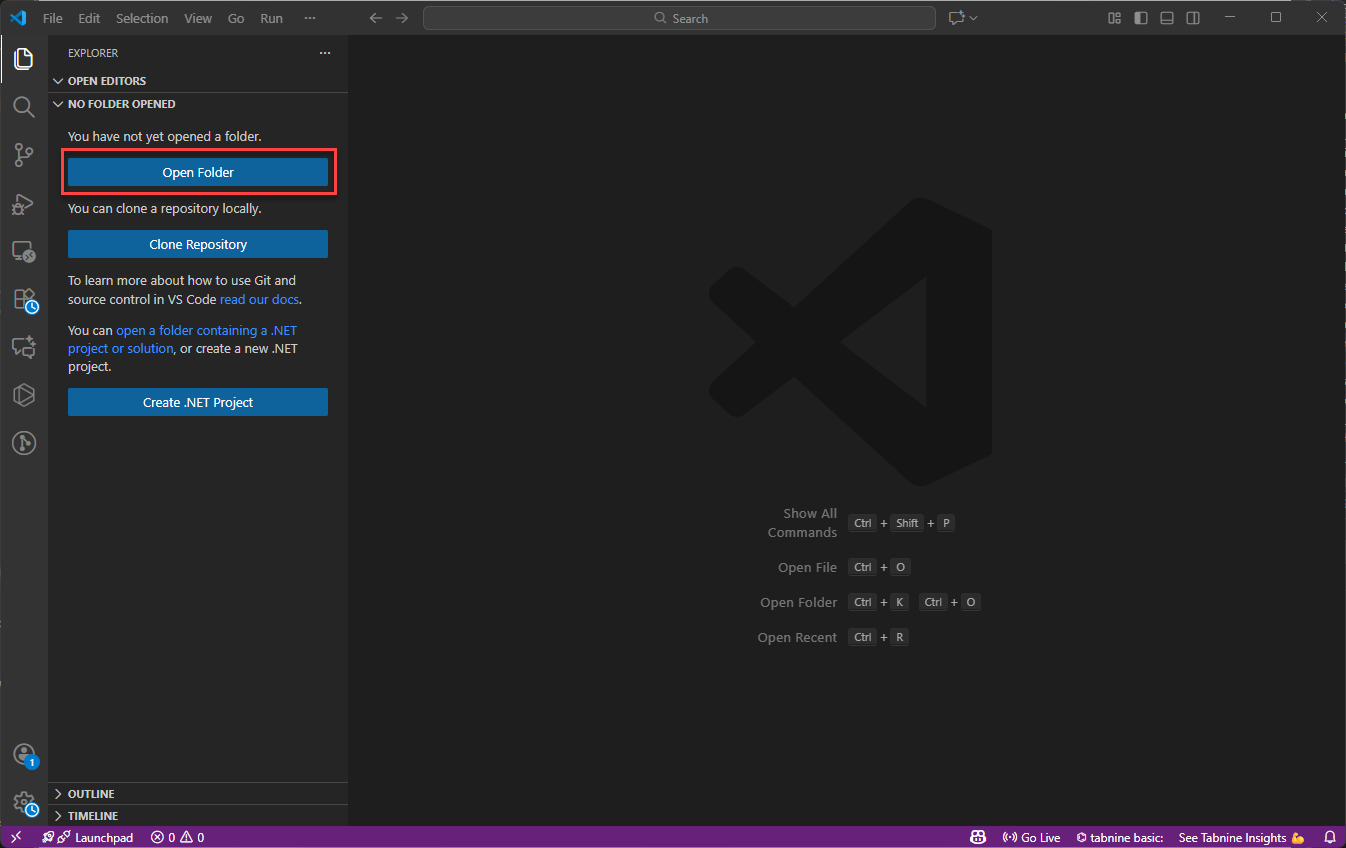
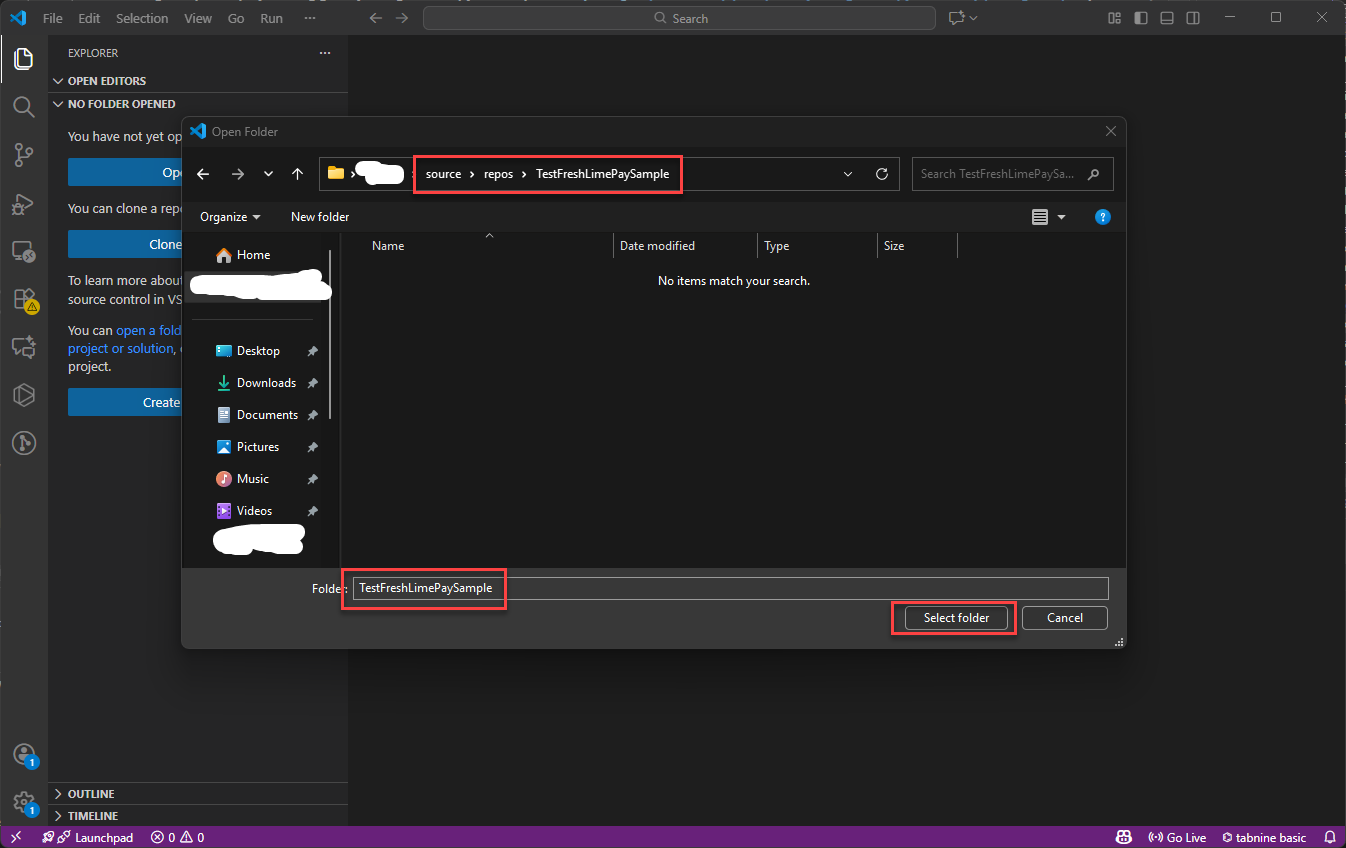
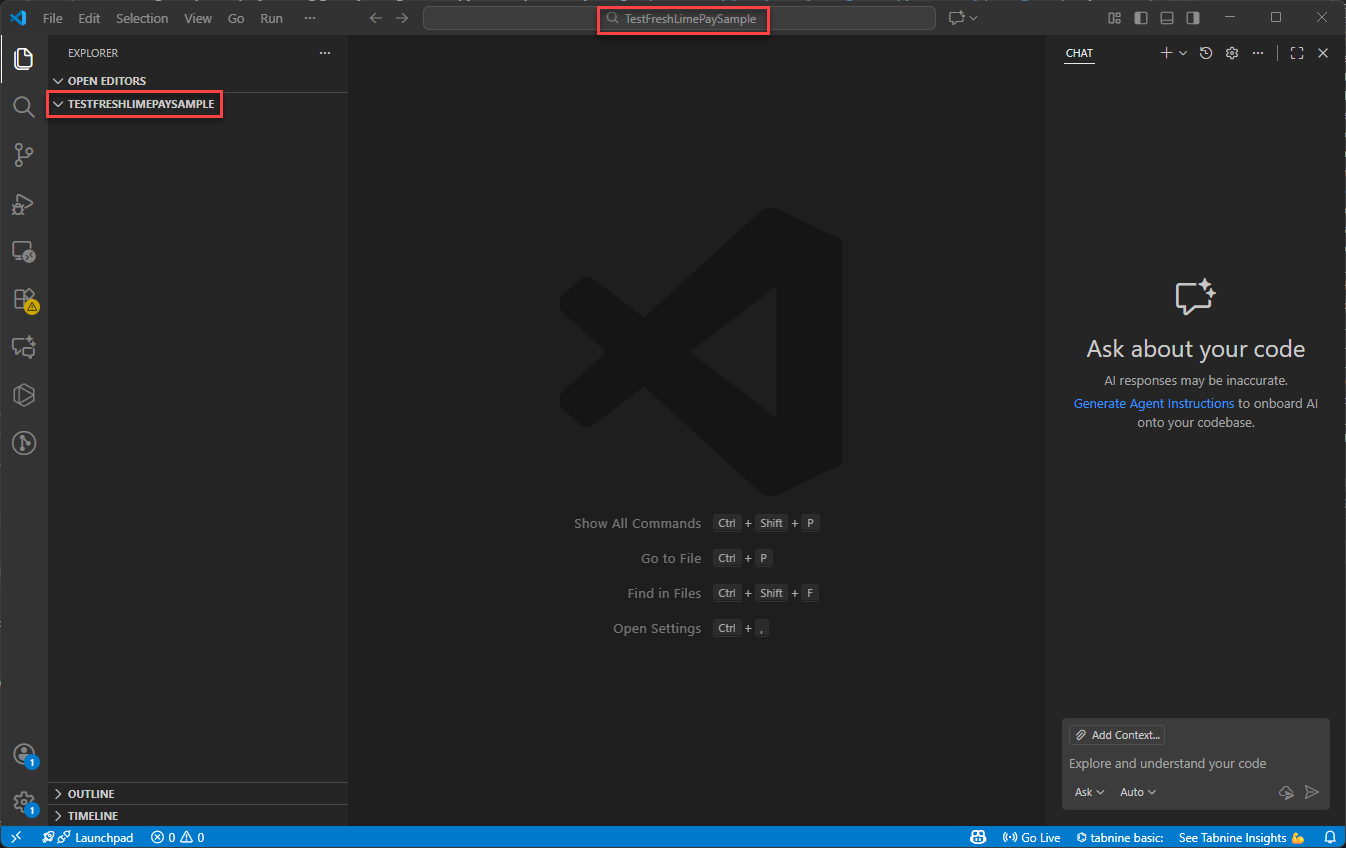
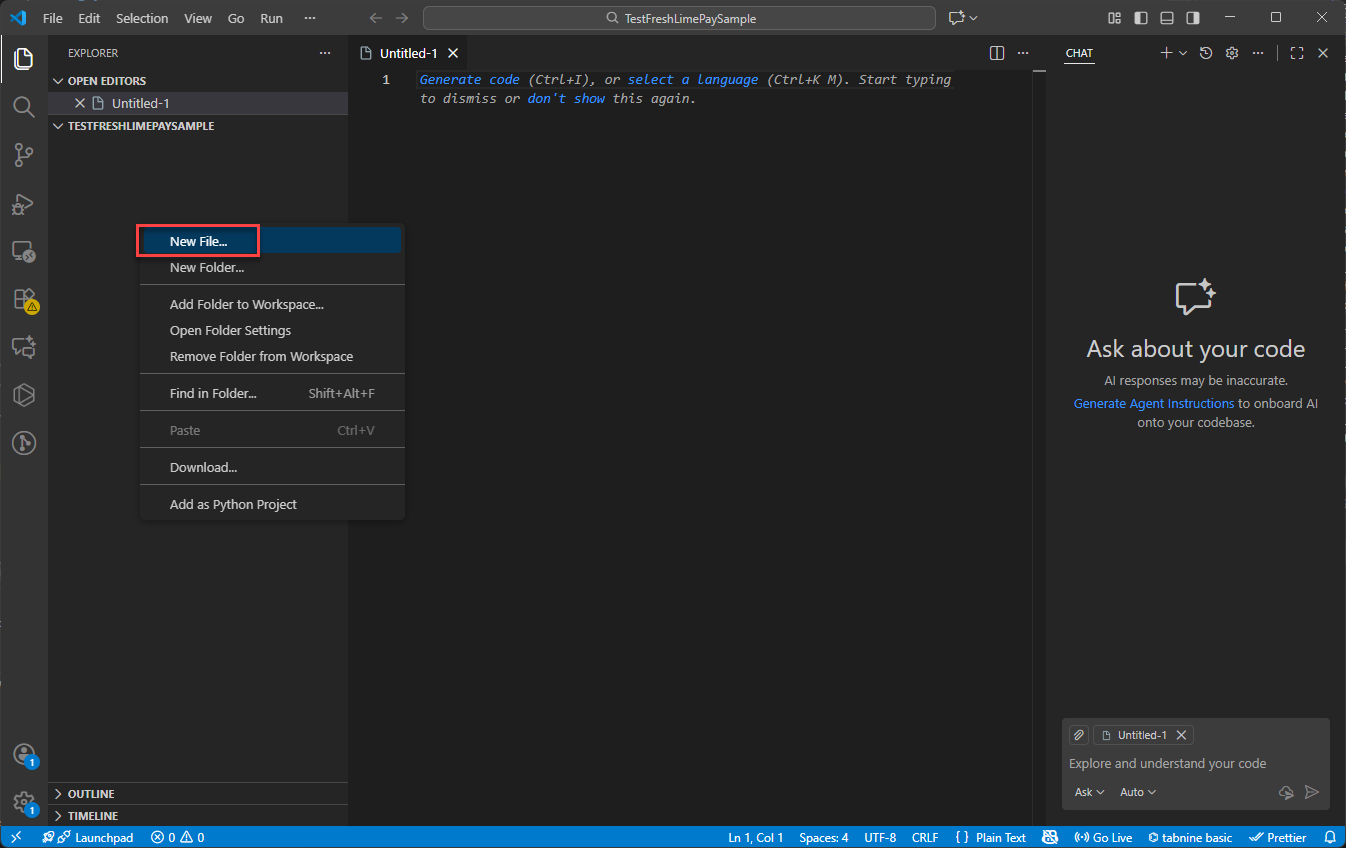
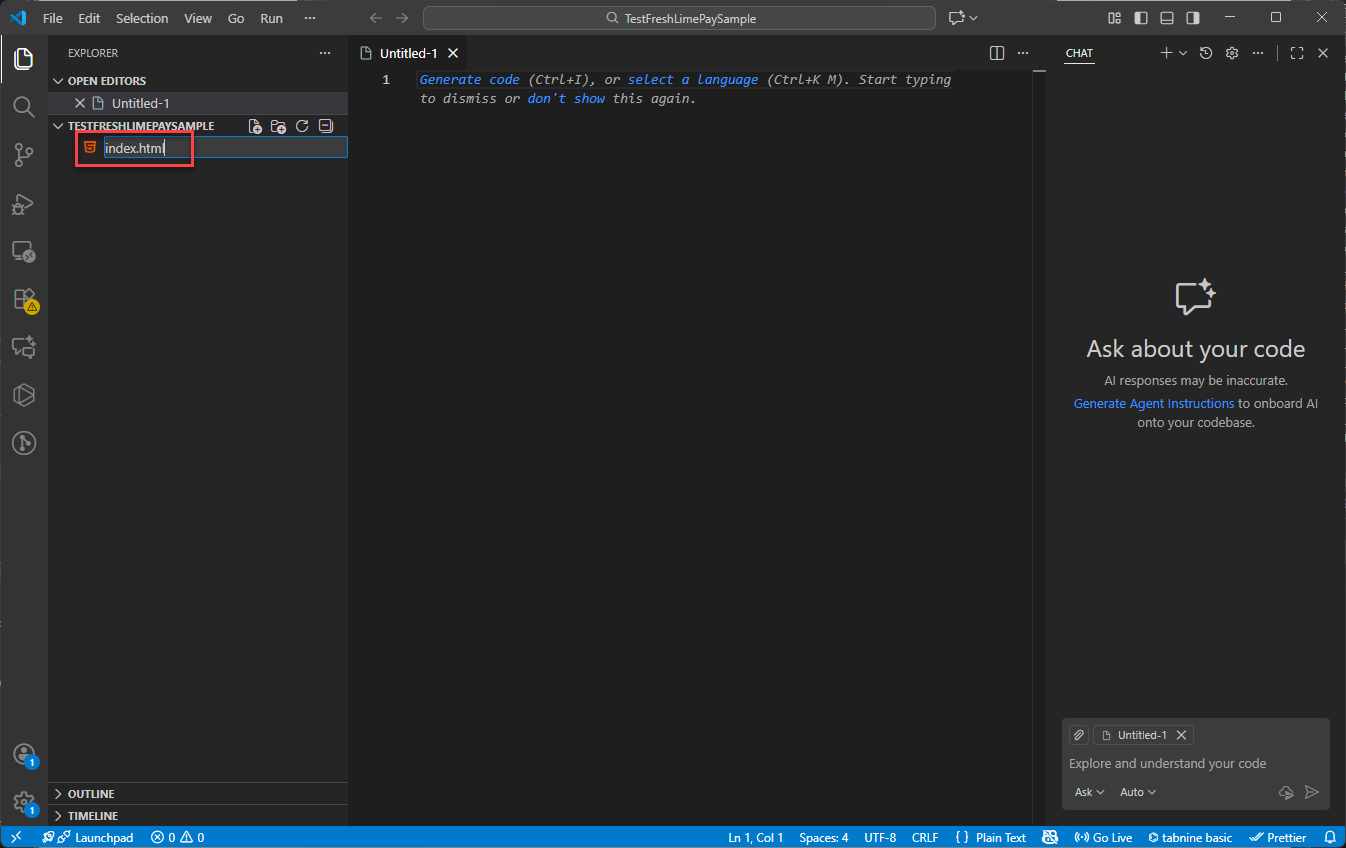
This guide uses Visual Studio Code to create a basic webpage:
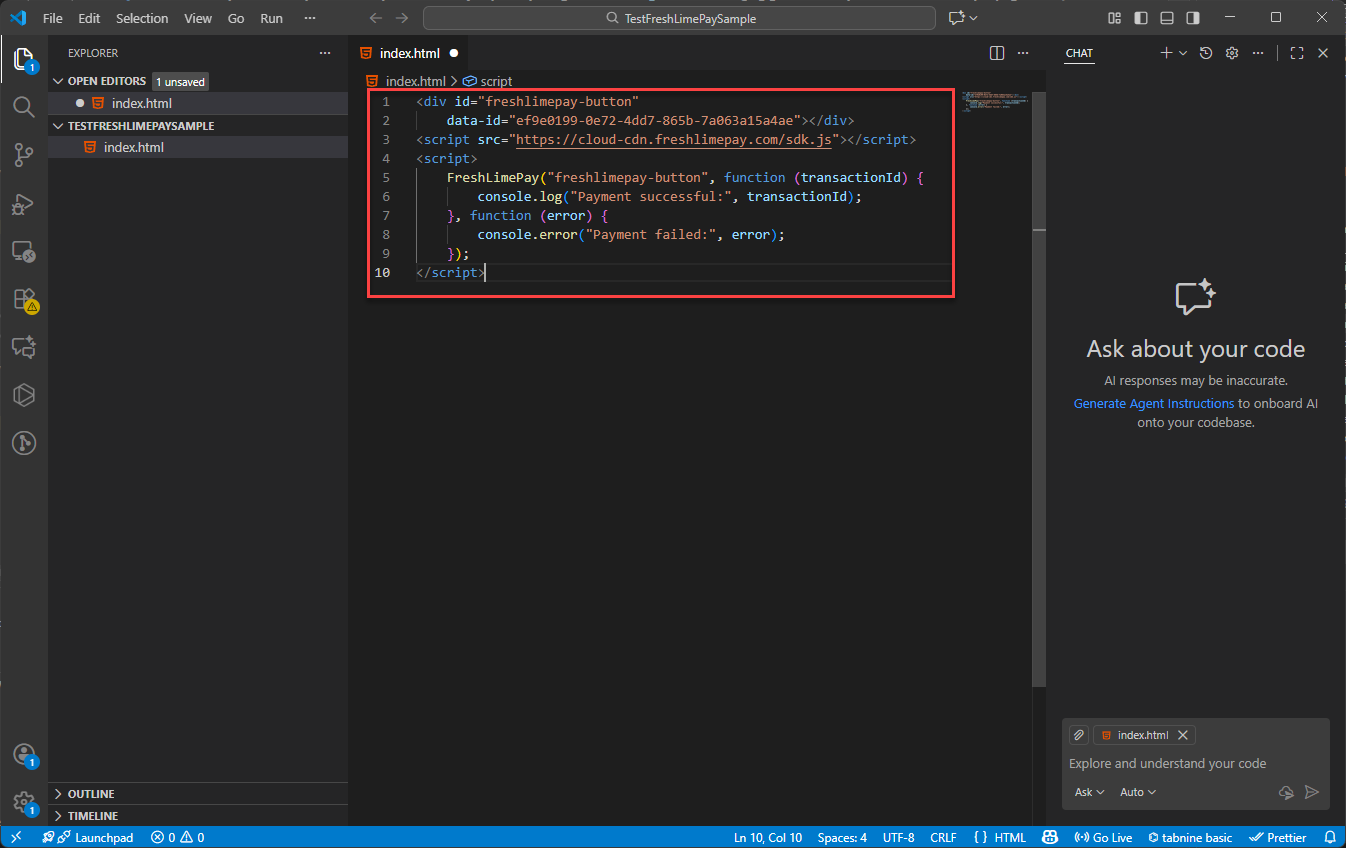
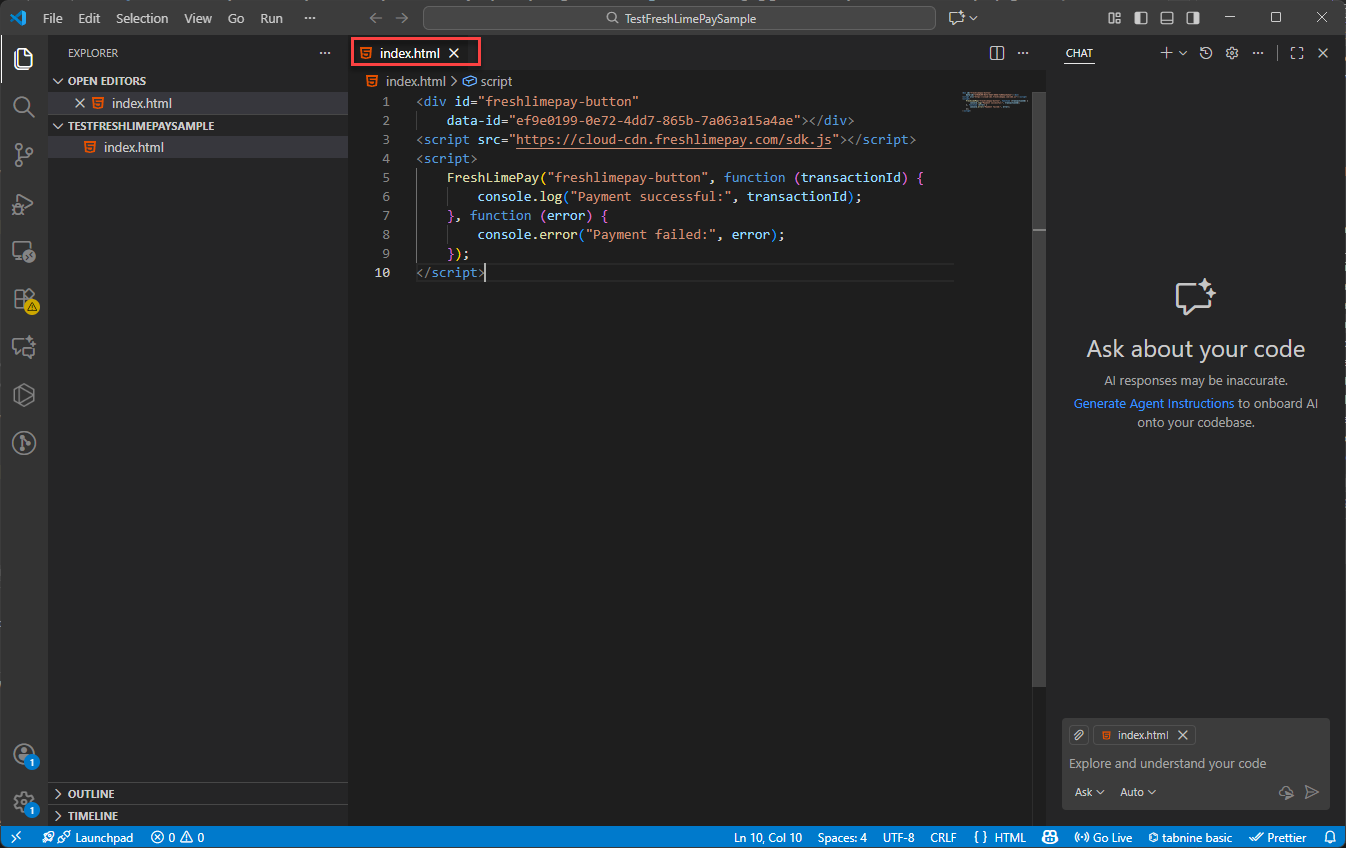
Copy the entire HTML snippet provided earlier:
Paste it into Visual Studio Code:
Press Ctrl + S to save:
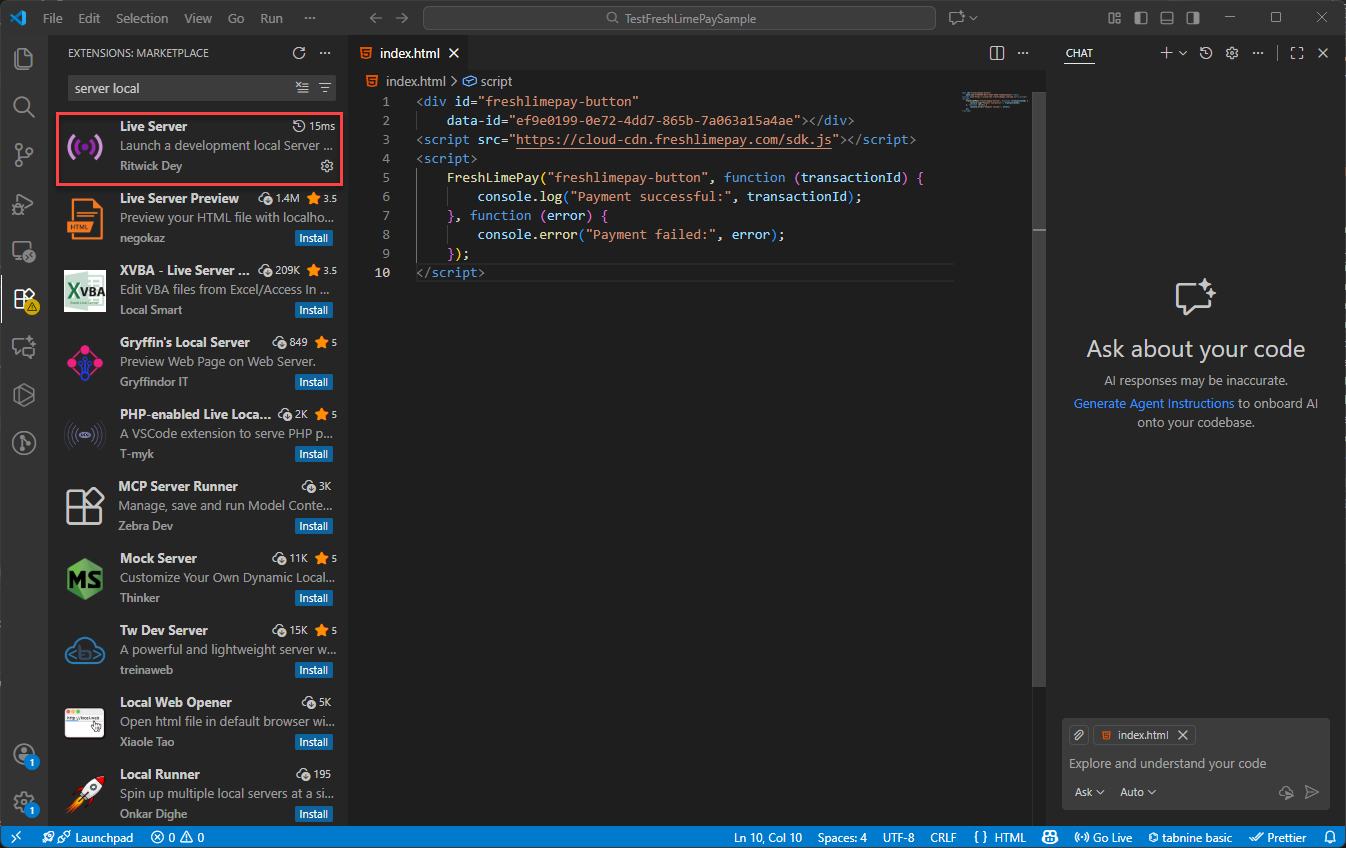
Ensure the Live Server extension is installed:
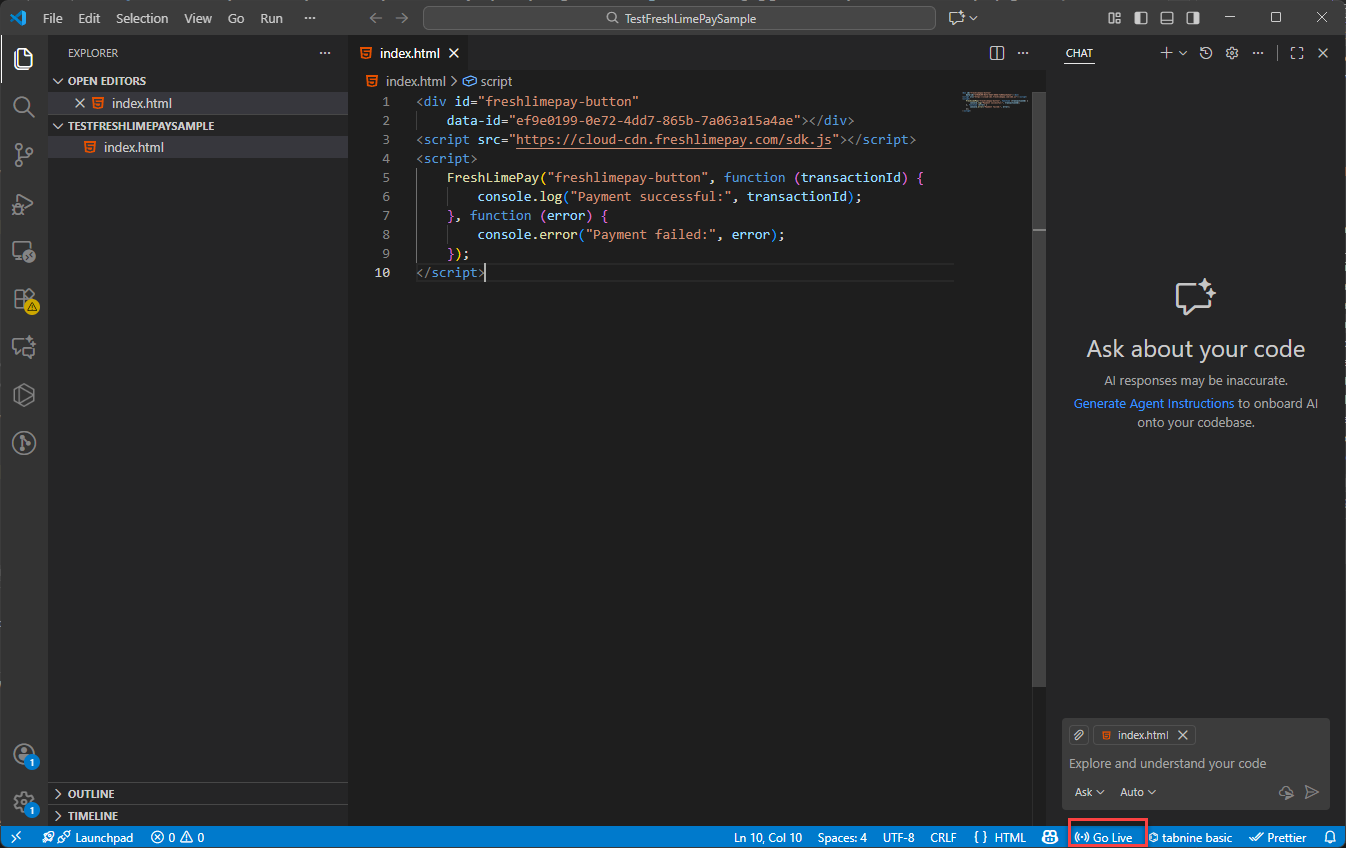
Click Go Live to launch your page:
You’ll then see the integration running in your browser:
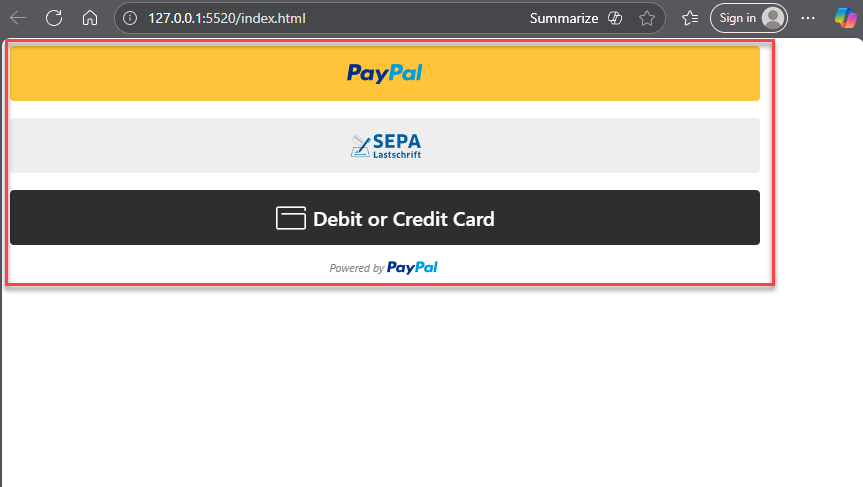
Since the product was created in the Sandbox environment, you must use a PayPal Personal Sandbox account to test the payment. In order to create new sandbox account, you follow the guide here
As shown throughout this guide, you can integrate PayPal payments into your website within minutes using FreshLimePay Cloud—no PayPal expertise required. You can create as many payment buttons as you need using FreshLimePay Cloud.